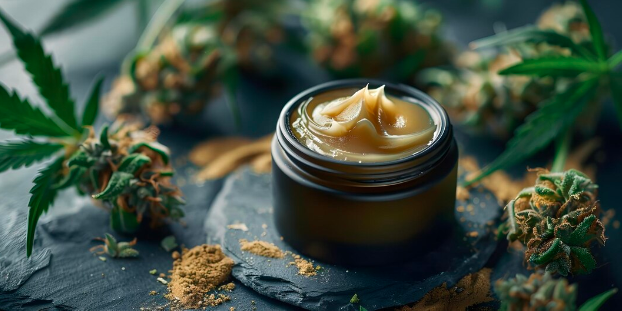
In recent years, CBD (cannabidiol) has gained immense popularity for its potential health benefits, from reducing anxiety to alleviating pain. One of the most versatile and user-friendly ways to enjoy CBD is through topical applications, particularly CBD cream. Making your own CBD cream at home is not only rewarding but also allows you to customize the ingredients to suit your skin’s needs. This guide will walk you through the simple process of creating your own CBD cream, ensuring you have a soothing and therapeutic product at your fingertips.
What You’ll Need
Before you start making your CBD cream, gather the following ingredients and materials:
- Carrier Oil: This can be coconut oil, olive oil, or jojoba oil. These oils are excellent for moisturizing the skin.
- Beeswax: This helps to solidify the cream and provides a protective barrier on the skin.
- CBD Oil: You can purchase CBD oil online or from health stores. Make sure to choose a high-quality product with a clear CBD concentration.
- Essential Oils (optional): For added fragrance and therapeutic benefits, consider lavender, peppermint, or eucalyptus oil.
- Double Boiler: This is used to melt the oils and beeswax gently.
- Mixing Tools: A spoon or whisk will work well for combining ingredients.
- Containers: Small jars or tins for storing your finished CBD cream.
Read also: Can One Furnace Heat My Multi-Story Home?


Step-by-Step Instructions
- Melt the Beeswax: Begin by adding one cup of your chosen carrier oil and half a cup of beeswax to the double boiler. Heat on low to medium heat, stirring frequently until the beeswax has completely melted. This usually takes about 5-10 minutes.
- Add CBD Oil: Once the beeswax is melted, remove the mixture from heat. Allow it to cool slightly (around 10 minutes) before adding your CBD oil. The recommended amount is between 500 mg to 1000 mg of CBD, depending on your desired potency. Stir thoroughly to ensure the CBD oil is evenly distributed throughout the mixture.
- Incorporate Essential Oils (Optional): If you want to enhance your cream with essential oils, now is the time to add them. A few drops of essential oil can provide additional benefits and a pleasant scent. Mix well to incorporate the oils.
- Cool and Store: Pour the mixture into your chosen containers while it is still warm and liquid. Allow the cream to cool completely at room temperature. As it cools, it will solidify into a smooth, creamy texture. Once cooled, seal the containers with lids.
- Label Your Cream: It’s essential to label your homemade CBD cream with the date and ingredients used. This will help you track freshness and avoid any confusion later on.
Tips for Using CBD Cream
- Patch Test: Before applying the cream to a larger area, conduct a patch test on a small skin area to ensure you don’t have an allergic reaction.
- Targeted Application: Use your CBD cream on specific areas where you feel discomfort or need relief. The cream can be particularly beneficial for sore muscles, joint pain, or dry skin.
- Storage: Store your CBD cream in a cool, dark place to preserve its potency. Homemade CBD creams typically last for about 3-6 months.
The Benefits of Homemade CBD Cream
Making your own CBD cream has several advantages. You control the ingredients, ensuring they are organic and free from harmful chemicals. Additionally, customizing the strength and scent allows you to tailor the product to your preferences. Homemade CBD cream is also cost-effective, as you can produce a larger quantity for a fraction of the price of store-bought versions.
Conclusion
Creating your own CBD cream at home is a straightforward and fulfilling process. With just a few simple ingredients, you can craft a nourishing topical that harnesses the benefits of CBD. Not only can you enjoy the therapeutic effects of CBD, but you also gain the satisfaction of using a product made with your own hands. So why not give it a try? Your skin—and your mind—will thank you!